RTTY ART Made EASY
DON ROYER, WA6PIR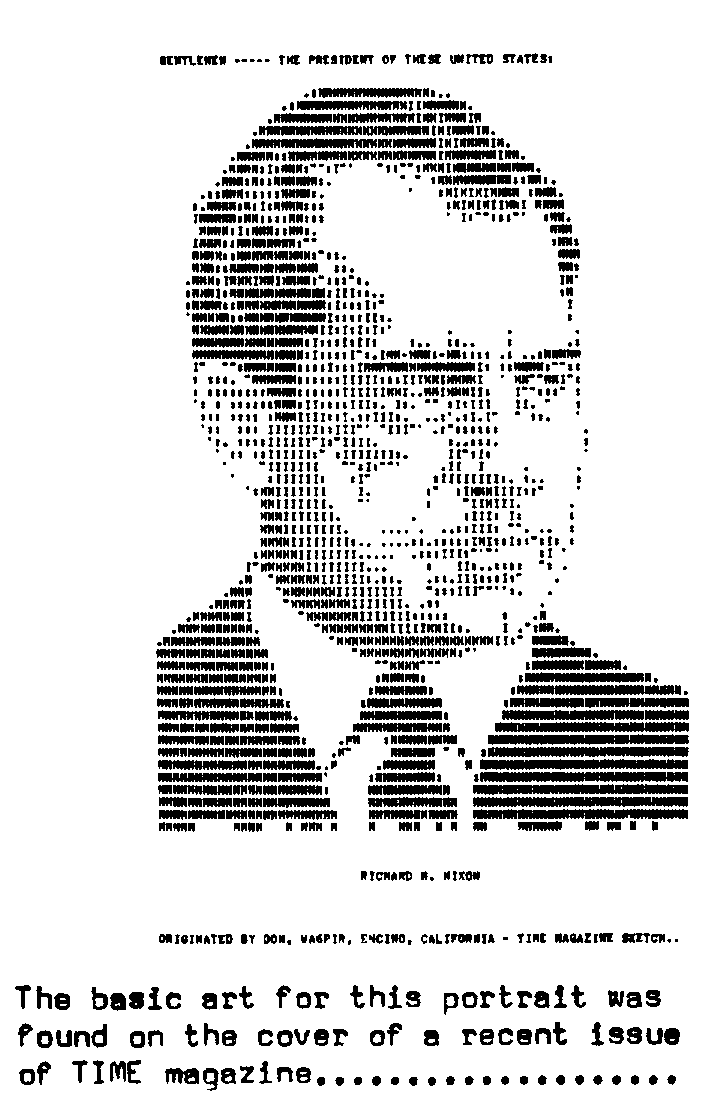
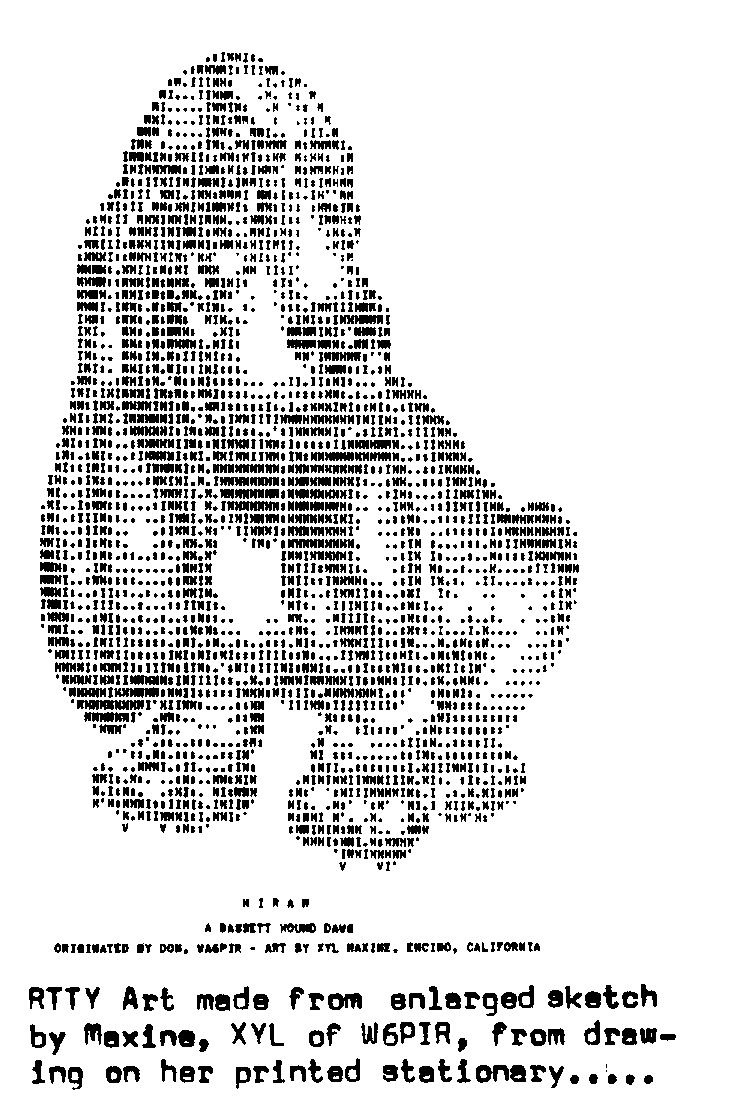
Have you ever wished that you could make some of that RTTY art that you may have printed? Well, so did I at one time - - it being a great deal easier than you might think. We (the XYL Maxine and l) have found that there is much basic art work, available from which RTTY pictures may be made. Cartoons, the comic strips, post cards, magazines, newspapers, center-folds and photographs may all serve as bases for pictures. While these may not be the right size, an inexpensive childs pantagraph may be used to enlarge or reduce them. A portrait of Washington was made from the etching on the dollar bill. While it is not that important, if you have a little sketching talent, that will also help (or enlist your wife and friends as I did). Having decided on the subject and having the basic art work the right size, run about four feet of paper out of your printer. Use the center portion of the paper for your sketch or carefully tape or glue (white glue works well) the drawing or photo to the paper. Trim the edges so that all is still the same width as originally. Now take out the paper from your printerand insert the four-foot sheet with the sketch on it so that it will be presented to you as it rolls through the machine. Carefully align the edges ofthe paper on the platen. Use your line feed to bring the top of the sketch into view With a little practice, you will be able to tell just where any character will strike the paper. You are now ready to overtype the sketch , punching a tape as you go. We have found that a small selection
of characters is all that is really needed to produce either outlined or shaded pictures.
While you may not agree with our selection, study the letters and other characters to
learn their individual densities. For example, the M and W are the darkest, followed by
the H or Z and then by the I. Thereafter. you can use the upshifted characters such as the
: or followed by the " or - or . and the like, depending upon where you want the
print to fall. In this way, you may add the shading that you desire or leave certain areas
blank and go from dark to light and back to dark again. Keep this process up over the
entire sketch.
Remove the four-foot paper with the sketch from your printer and re-insert your paper stock. Now play out the tape that you have made and see what you have. You will probably be pleasantly surprised. From this point on, we generally take a red pen and indicate on the print where additions, corrections and any changes are to be made and rerun the tape to make the corrections, making a new tape at the same time. In most instances, we can now come up with a pretty good picture with a series of five or six corrected tapes. Now a few other suggestions on techniques for the tapes and pictures. Many of the machines in use today have nonoverline features so we have quit using overlining. Stay within a 72 character line. Start and end the tape with a series of letters, a couple of carriage returns and about ten line feeds, as this will help the other guy if he is making a reperf tape at his end. Also, keep in mind those who have machines that downshift on space as well as those that do not do so. If you are upshifted and then space and wish another upshifted character, put in another FIGURES character. Of course, the same applied when you want a letter following a space after an upshifted character. At the start of each line, we generally use two carriage returns, the line feed and two LETTERS or FIGURES depending upon how the line starts, to help ensure that the old and tired machines have time to get to the start of a new line. Try to make your tapes as short as possible by taking out any unneeded characters, extra LETTERS, up-shifts followed by downshifts and things like extra spaces or downshifts at the end of a line. Above all, be sure to put your credit line at the end, with the hope that others will follow your lead and keep it there. So if the RTTY pictures are your bag, get with it and make a few. We will surely be pleased to receive them. |